Monday, July 6, 2015

ootd


I don't work today. I managed to get most of my chores done by 10:30 am.
I had a cup of coffee. I am feeling very accomplished! 
The smoke from the Saskatchewan forest fires has finally cleared 
and we get to see the beautiful blue sky.
Have a great day! 


cardigan bluenotes
tank top hollister
jeans american eagle
watch dkny
bracelets alex & ani
necklace stella & dot 


follow me on instagram
@alxndrmms

Friday, October 10, 2014

DIY: Twine Wrapped Jars


This is an extremely easy DIY, so easy in fact you probably could have figured this out yourself. But I'm going to show you anyway! These beautifully rustic and charming jars will be used at my wedding in May (squeeeeee) as centre pieces. However, these jars would also be cute for storing makeup brushes or pens and of course can be made using different sizes of jars.

What you'll need:

  • Mason jars - I got mine at the local MCC for about $0.25 a jar
  • Twine - Canadian Tire or wherever... the roll cost me about $3.99
  • Hot glue - Be careful.. I burned myself.
  • Mod Podge
  • Scissors
  • Coffee (optional)
  • Good music (optional)


First I stuck the twine to the bottom of the jar using a glob of hot glue. Then I brushed on some Mod Podge all around the top of the jar and wrapped the twine tightly, making sure that there were no gaps between each layer of twine. I tried one jar without the Mod Podge, and it worked... but not as well. The twine was just doing what it wanted to and was not staying where I put it.
Finally, I secured the end of the twine to the jar using a dollop of hot glue.


I hope you found this easy 'lil diy helpful and let me know if you'd like to see more of my wedding diys.

Until next time!

-alexandreamms

Friday, May 30, 2014

Cath Kidston Quilting


I have just received the most beautiful stack of Cath Kidston fabric. Which I think would go perfectly in a quilt, though I'll need a couple more prints. If any one knows of an online shop where I can get pretty florals, please let me know!

Sunday, May 25, 2014

Striped Skirt (Simplicity 1917)


This is my second time using the Simplicity 1917 3 length skirt pattern, using the middle skirt length. The first time my skirt came out too big, so this time I cut it down, and it definitely fits better, but could still be made smaller (thank you size chart for making me feel smaller than I actually am!)

I used Sofia fabric from Ikea. It was thick (probably meant for curtains) and easy to work with.
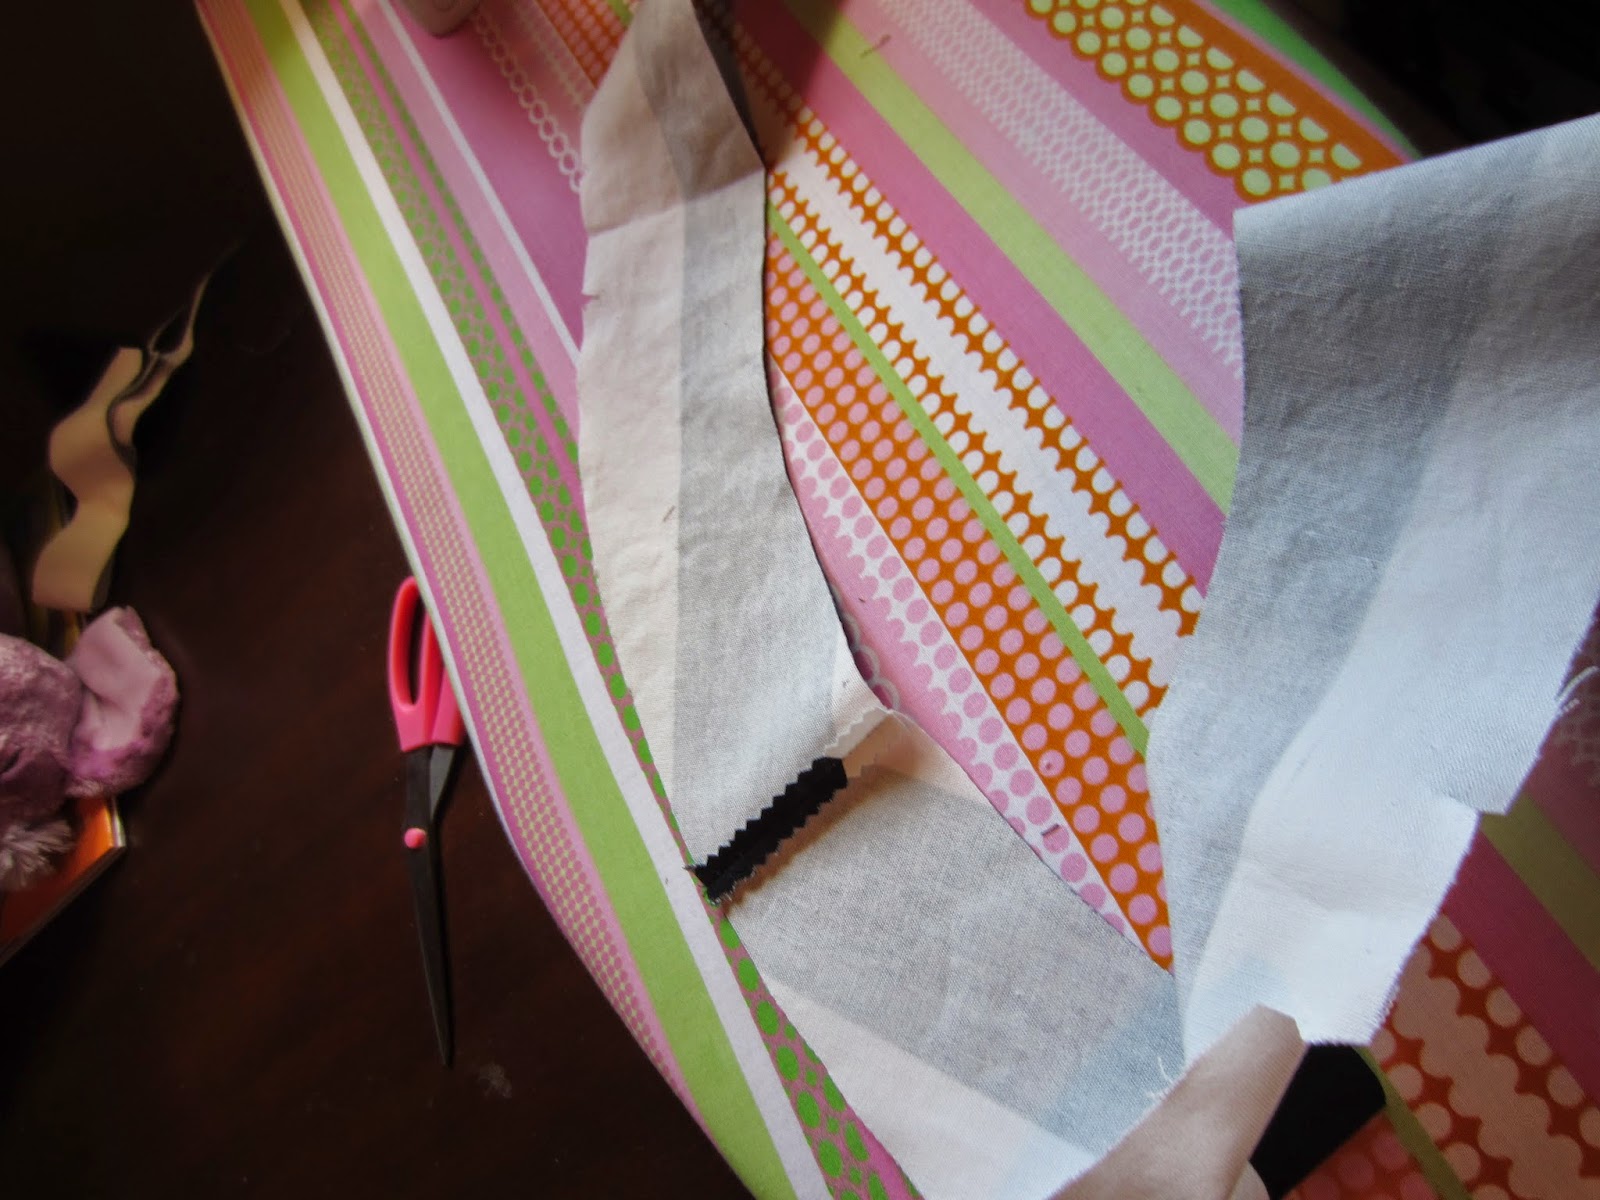
First, cut out your pattern pieces. For the main part of the skirt I folded my fabric in half again (selvage to selvage) so that when sewn together, the stripes would match up perfectly.

Pin down your pleats and baste stitch across. Don't worry too much about how neat your baste stitch is; We can always pull out our lovely seam rippers later.

Pin all the way up one side, and only up to the notch on the other. The Simplicity instructions tell you what side, but does it reeaaaaally matter? No, not to me. So do whatever feels right. I made sure my stripes were lined up, then sewed up both sides. I don't have a serger so I pinked the edges.
Then I sewed my two yoke pieces together. Sew it to the top of your skirt, right sides facing each other. 

You can totally see my baste stitch, I ripped that out :)

Take your second yoke piece and sew it (right sides facing each other) to the top of the yoke already sewn onto your skirt. Then flip it around, and press if necessary.
This is where I kind of stopped taking pictures because I could see the finish line... sorry about that.
Sew down (stitch in the ditch) the second yoke to the inside of the skirt, making sure to catch all the layers. 
Then I sewed in the zipper. Which is always fun. And hand sewed the clasp.
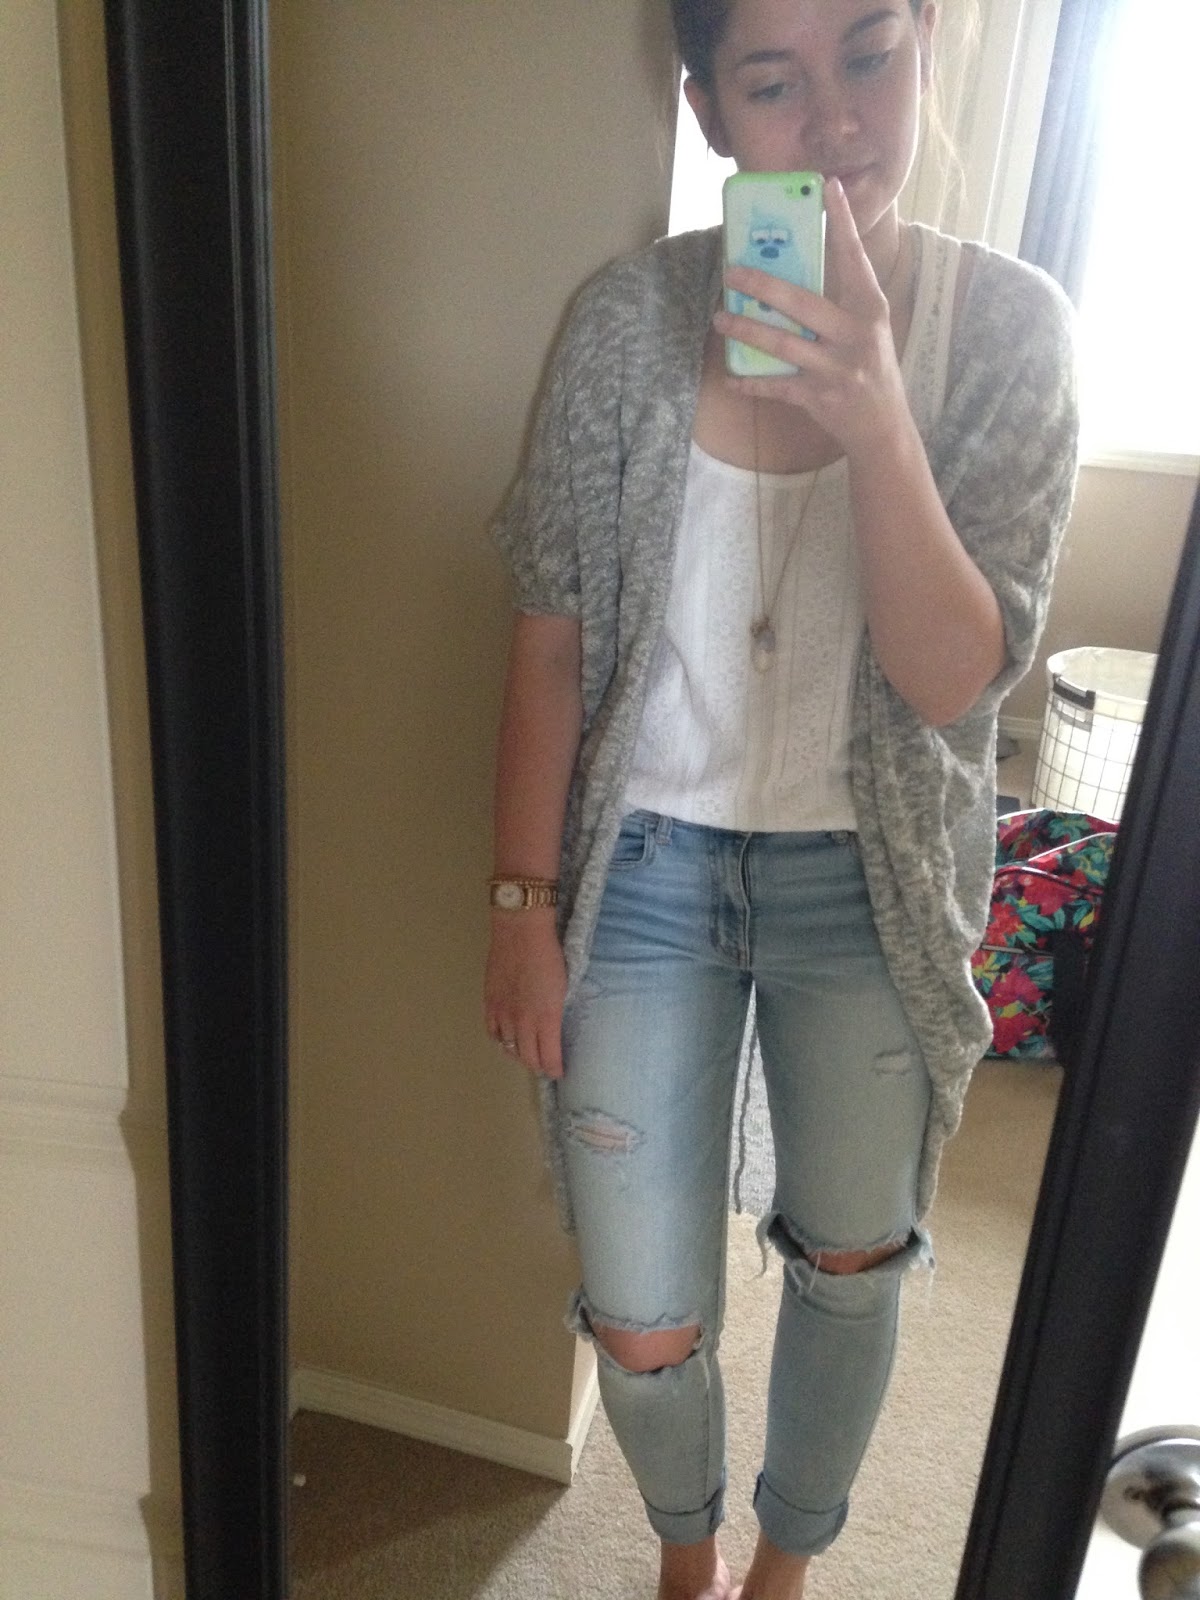
After that I tried on the skirt and decided how long I wanted it to be. I wanted it slightly above my knees so I cut off about 1 1/4 inch off the bottom and hemmed it in the regular fashion.

Gotta love phone pictures :)